#
Network Interface Card (NIC)

This tutorial explains what is and how we can create an Azure NIC (Network Interface Card).
A Network Interface Card enables an Azure Virtual Machine to communicate with a Subnet/VNet. Without a NIC, a VM is like a physical computer which is not connected to any network.
When creating a virtual machine using the Azure portal, the portal creates one network interface with default settings for you. To create a network interface with custom settings and attach to a virtual machine, use PowerShell, the Azure CLI or the Azure Portal.
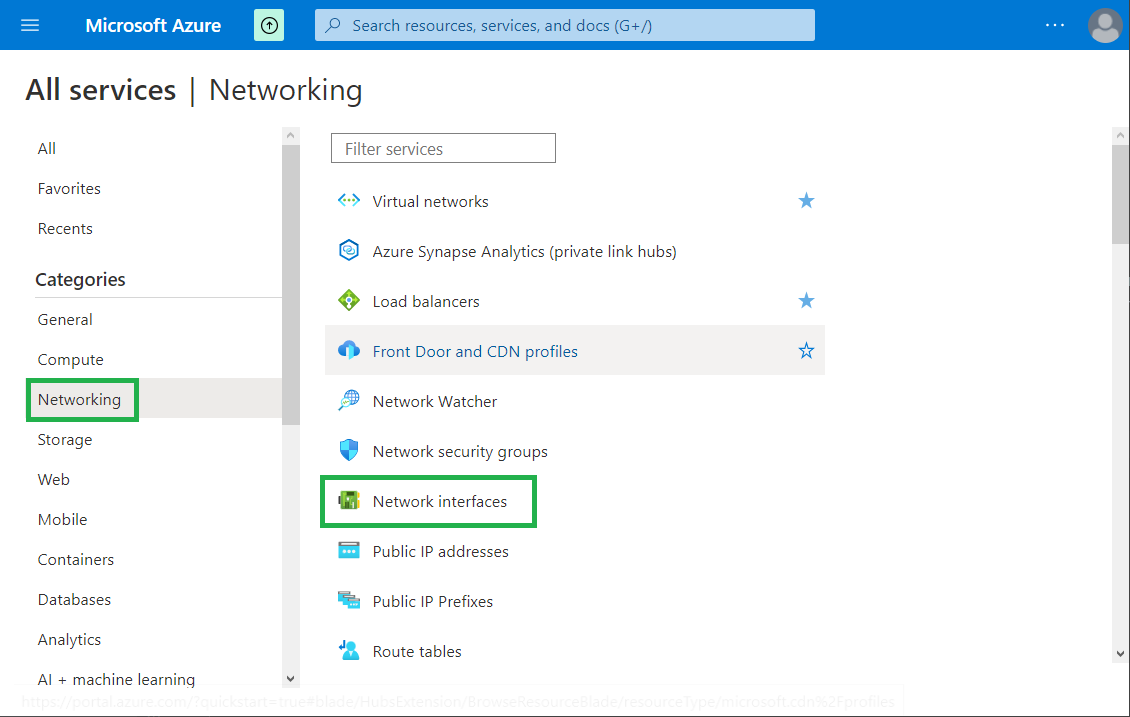
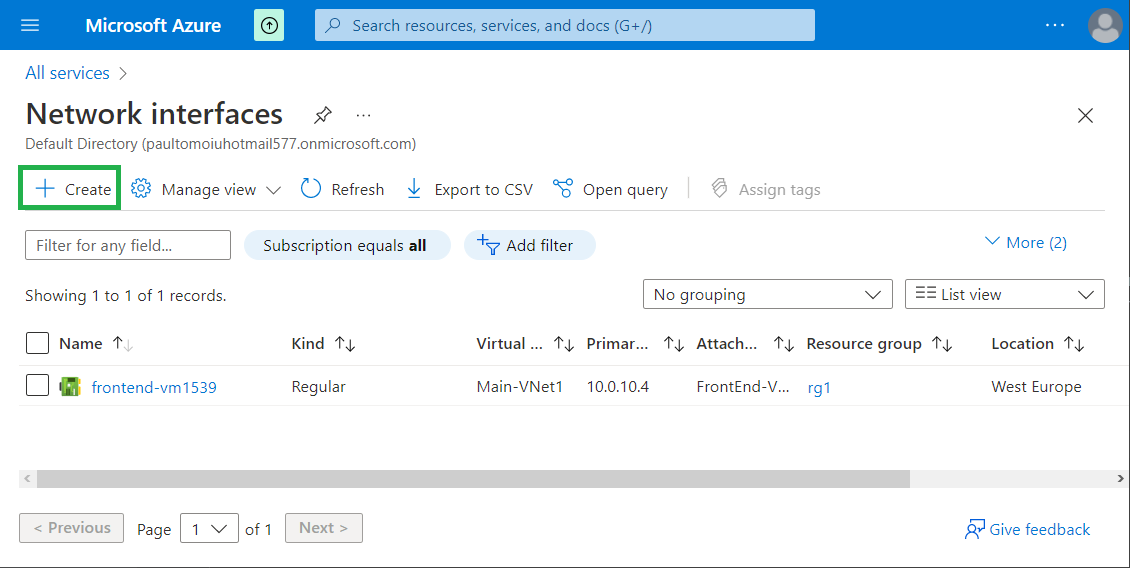
Let's use Azure Portal in order to create a NIC.
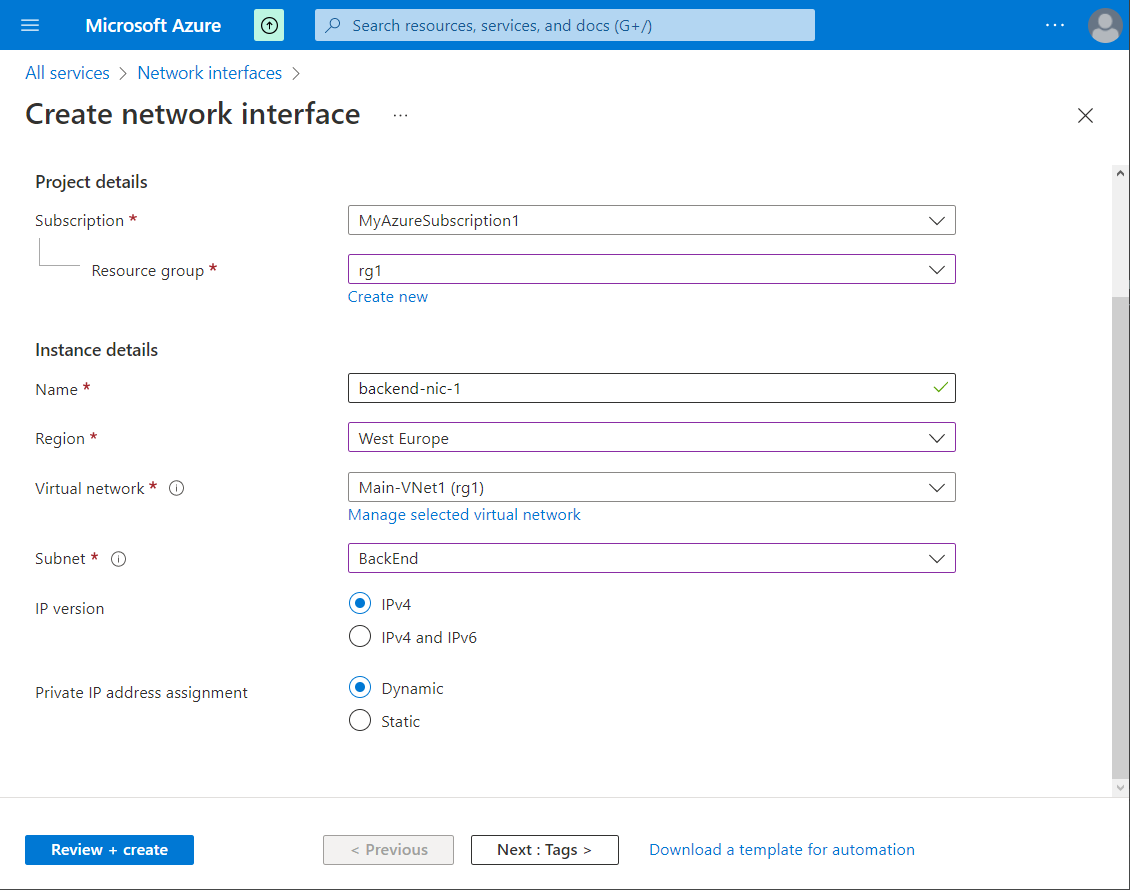
Choose the subscription and the resource group, the name of the NIC, on which VNet/Subnet will be assigned, IP version and how the private IP will be assigned.
Click on "Review + create" button and after that on "Create".
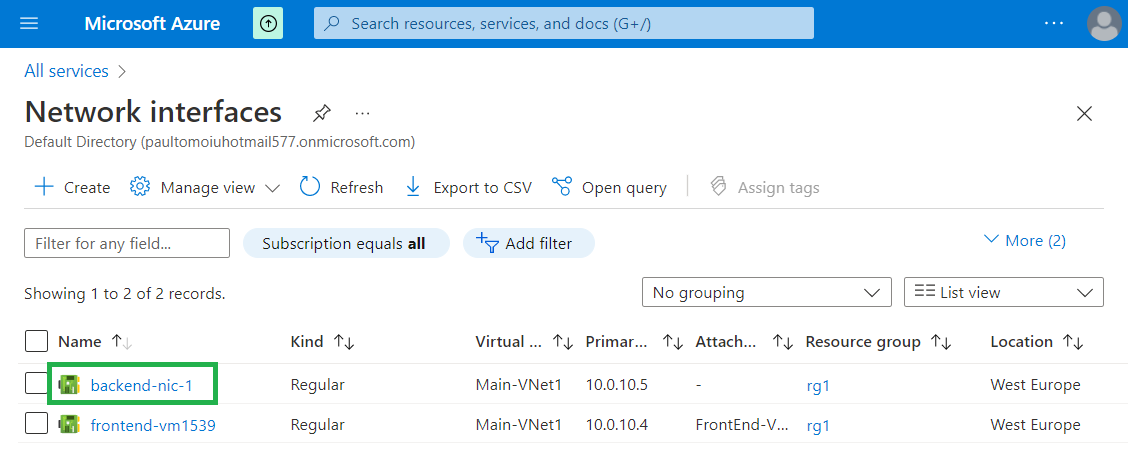
The new NIC will be created.