#
Virtual Subnets

This tutorial explains what is and how to create a Virtual Subnet in Azure.
The Azure Virtual Network is a logical representation of the network in the cloud. When you need to create a network in Azure, you create an Azure Virtual Network (VNet). When a VNet is defined, we can define our private IP address range for this VNet. On this VNet we can deploy different kinds of Azure resources and different network resources as well.
Communication with the Internet (by default):
- inbound connections not allowed
- outbound traffic allowed
Info
You can communicate inbound to a resource by assigning a public IP address or a public Load Balancer.
The resources such as virtual machines from a VNet are isolated from other resources (from another VNet, etc).
The VNet can be segmented into one or more Subnetworks (Subnets). A subnet is a range of IP addresses in your VNet.
When the subnets are created, the resources are assigned to a specific Subnet.
There are 2 types of Subnets:
public subnet: for resources that need to connect to the Internetprivate subnet: for resources that won't be connected to the Internet
The access of the Subnet resources are protected by Network Security Groups (NSG).
Now, let's create a Subnet.
From the Azure Console, go to "All services" -> "Networking" -> "Virtual Networks" and you will see something like this:
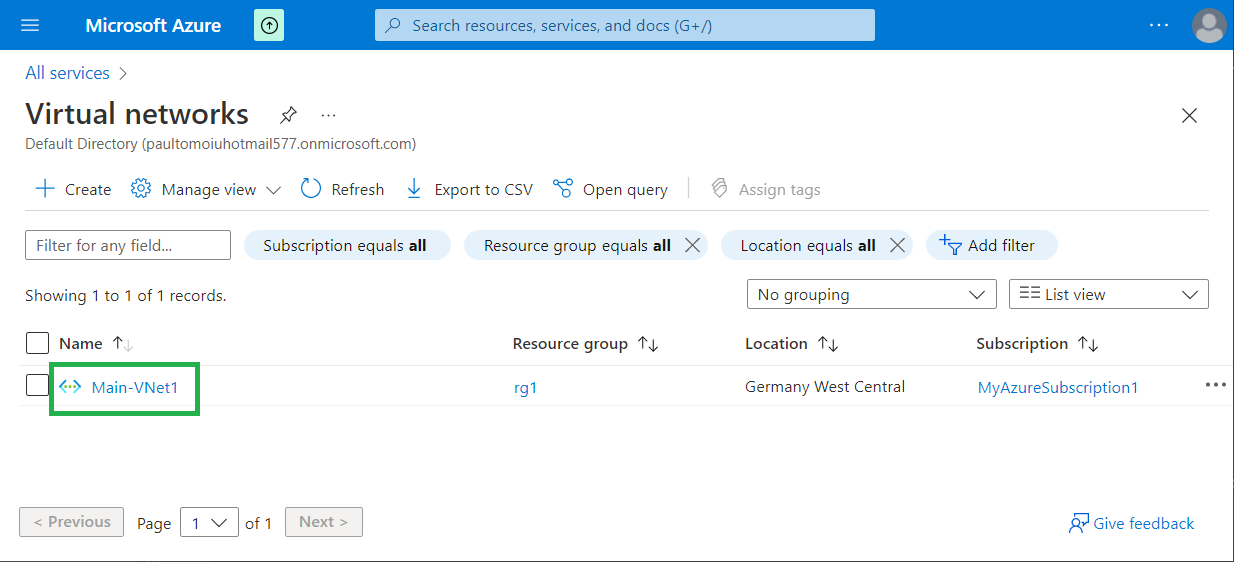
Click on the VNet name.
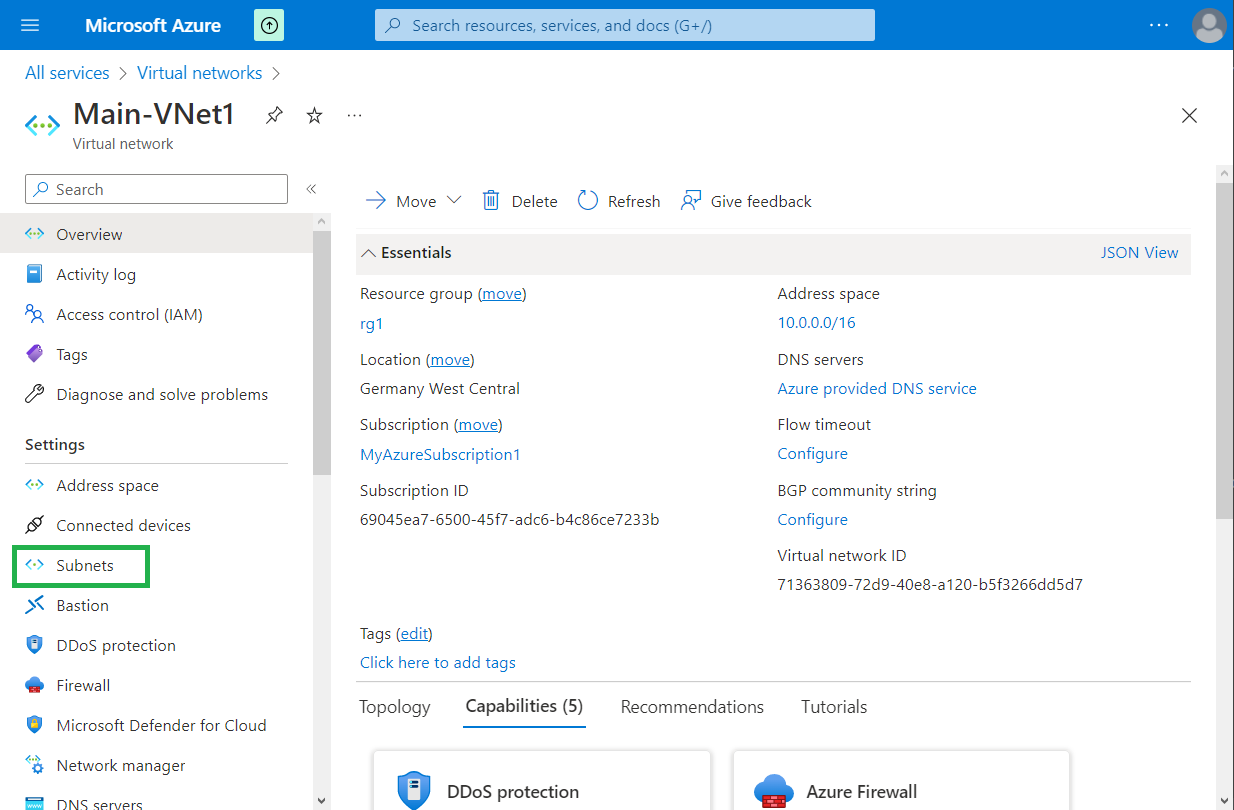
Click on "Subnets".

Click on "+ Subnet".
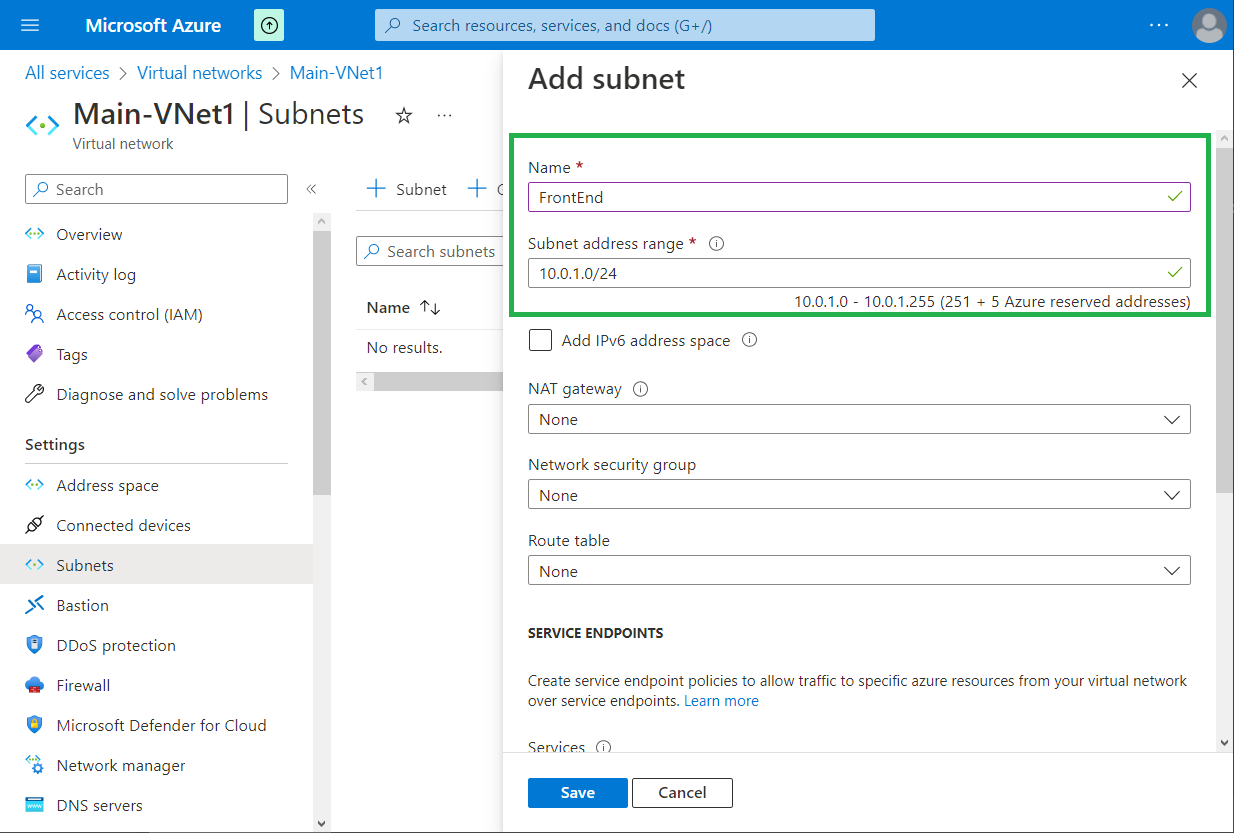
Choose a name for the Subnet and specify the Subnet address range. Click on "Save".
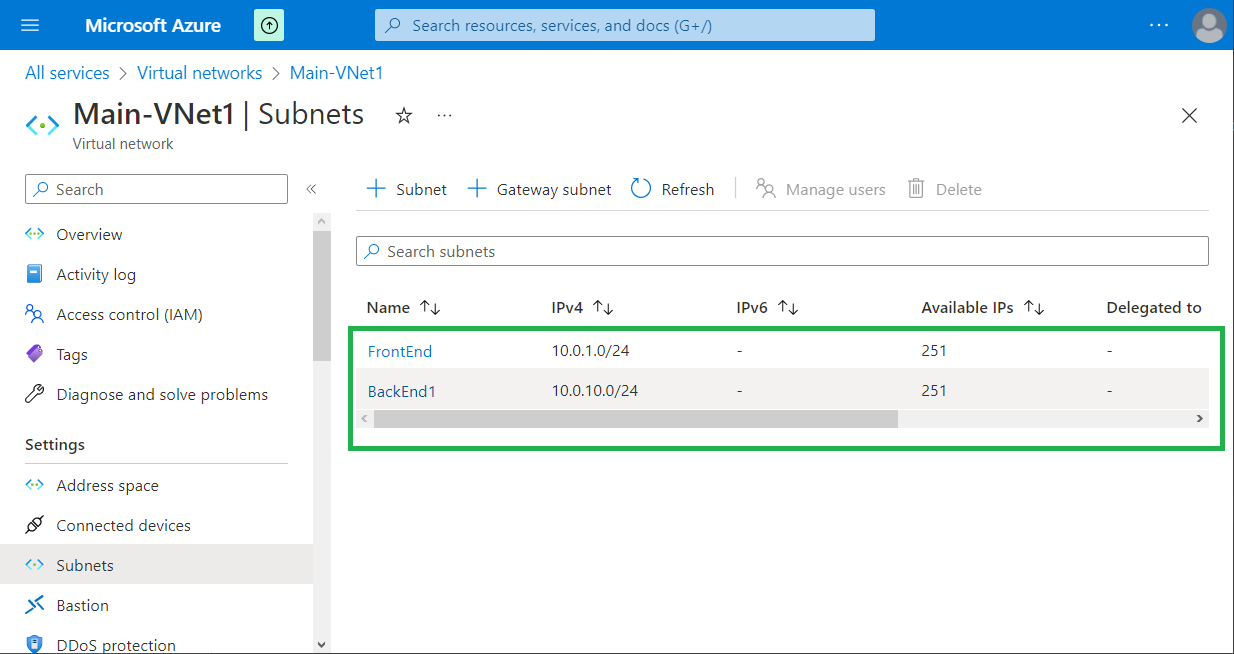
I will add in the same manner another Subnet named "BackEnd1".
Here are the 2 Subnets created: